Are you wondering about how to have full control on the Alfresco logs? If you are an Alfresco administrator I’m pretty sure you want to manage where the alfresco.log, share.log and solr.log are placed, right?
I asume you want to store all your alfresco logs in /opt/alfresco/tomcat/logs, which is the default logging directory for Tomcat and where you can find catalina.out log file as many other out-of-the-box logging files for this well known application server.
If you use the Alfresco installer or a default installation, logging files like alfresco.log, share.log and solr.log may be created where you run the “alfresco.sh start” script or where you start Tomcat. For example, in an installation placed in /opt/alfresco/, when you start Alfresco with ./alfresco.sh start (once you are in /opt/alfresco) those 3 files will be created in /opt/alfresco. If you are using the initd start/stop script for RedHat or Ubuntu you will see log files created in the root “/“ directory or maybe in the user home directory (it may depends).
Here you go how to manage all of these :
(Disclaimer: remember that after doing all said here, Alfresco will still logging some exception before override of the extension files take place).
- Alfresco repository logs:
Valid for for any Alfresco version. Copy the original log4j properties from the alfresco deployed war file to the extension directory renamed as custom-log4j.properties:
[bash]
cp /opt/alfresco/tomcat/webapps/alfresco/WEB-INF/classes/log4j.properties /opt/alfresco/tomcat/shared/classes/alfresco/extension/custom-log4j.properties
[/bash]
Edit the custom-log4j.properties file and modify “log4j.appender.File.File” as your needs or like here:
[bash]
###### File appender definition #######
log4j.appender.File=org.apache.log4j.DailyRollingFileAppender
log4j.appender.File.File=/opt/alfresco/tomcat/logs/alfresco.log
log4j.appender.File.Append=true
log4j.appender.File.DatePattern=’.’yyyy-MM-dd
log4j.appender.File.layout=org.apache.log4j.PatternLayout
log4j.appender.File.layout.ConversionPattern=%d{ABSOLUTE} %-5p [%c] %m%n
[/bash]
At the moment there is no extension mechanism for Share logs, then we can not do it in the same way as for Alfresco repository. In this case you only can edit /opt/alfresco/tomcat/webapps/share/WEB-INF/classes/log4j.properties file and modify appender line as shown below:
[bash]
log4j.appender.File.File=/opt/alfresco/tomcat/logs/share.log
[/bash]
The bad news with this method is that you will need to do it again when you upgrade Alfresco Share or redeploy share.war again.
In Alfresco 4.2 (for previous versions see below): alf_data/solr/log4j-solr.properties you will find the configuration file, now change the line “log4j.appender.File.File” like below:
[bash]
# Set root logger level to error
log4j.rootLogger=WARN, Console, File
###### Console appender definition #######
# All outputs currently set to be a ConsoleAppender.
log4j.appender.Console=org.apache.log4j.ConsoleAppender
log4j.appender.Console.layout=org.apache.log4j.PatternLayout
log4j.appender.Console.layout.ConversionPattern=%d{ISO8601} %x %-5p [%c{3}] [%t] %m%n
###### File appender definition #######
log4j.appender.File=org.apache.log4j.DailyRollingFileAppender
log4j.appender.File.File=/opt/alfresco/tomcat/logs/solr.log
log4j.appender.File.Append=true
log4j.appender.File.DatePattern=’.’yyyy-MM-dd
log4j.appender.File.layout=org.apache.log4j.PatternLayout
log4j.appender.File.layout.ConversionPattern=%d{ABSOLUTE} %-5p [%c] %m%n
###### added Alfresco SOLR class logging #######
log4j.logger.org.alfresco.repo.search.impl.solr=INFO
log4j.logger.org.alfresco.solr.tracker.CoreTracker=ERROR
[/bash]
In previous Alfresco versions just bear in mind to copy the log file into the “solr/home” value defined in “{tomcat}/conf/Catalina/{hostname}/solr.xml”. You also may need to reload the Solr log4j resource from the Solr admin panel: https://localhost:8443/solr/admin/cores?action=LOG4J&resource=log4j-solr.properties
Also remember to use https://localhost:8443/solr/alfresco/admin/logging to manage your Solr logs.
More info about Solr logs here: http://wiki.alfresco.com/wiki/Alfresco_And_SOLR#Load_Log4J_Settings and here https://issues.alfresco.com/jira/browse/MNT-5803
- Last step for any configuration about the logs configuration is to restart your application server.
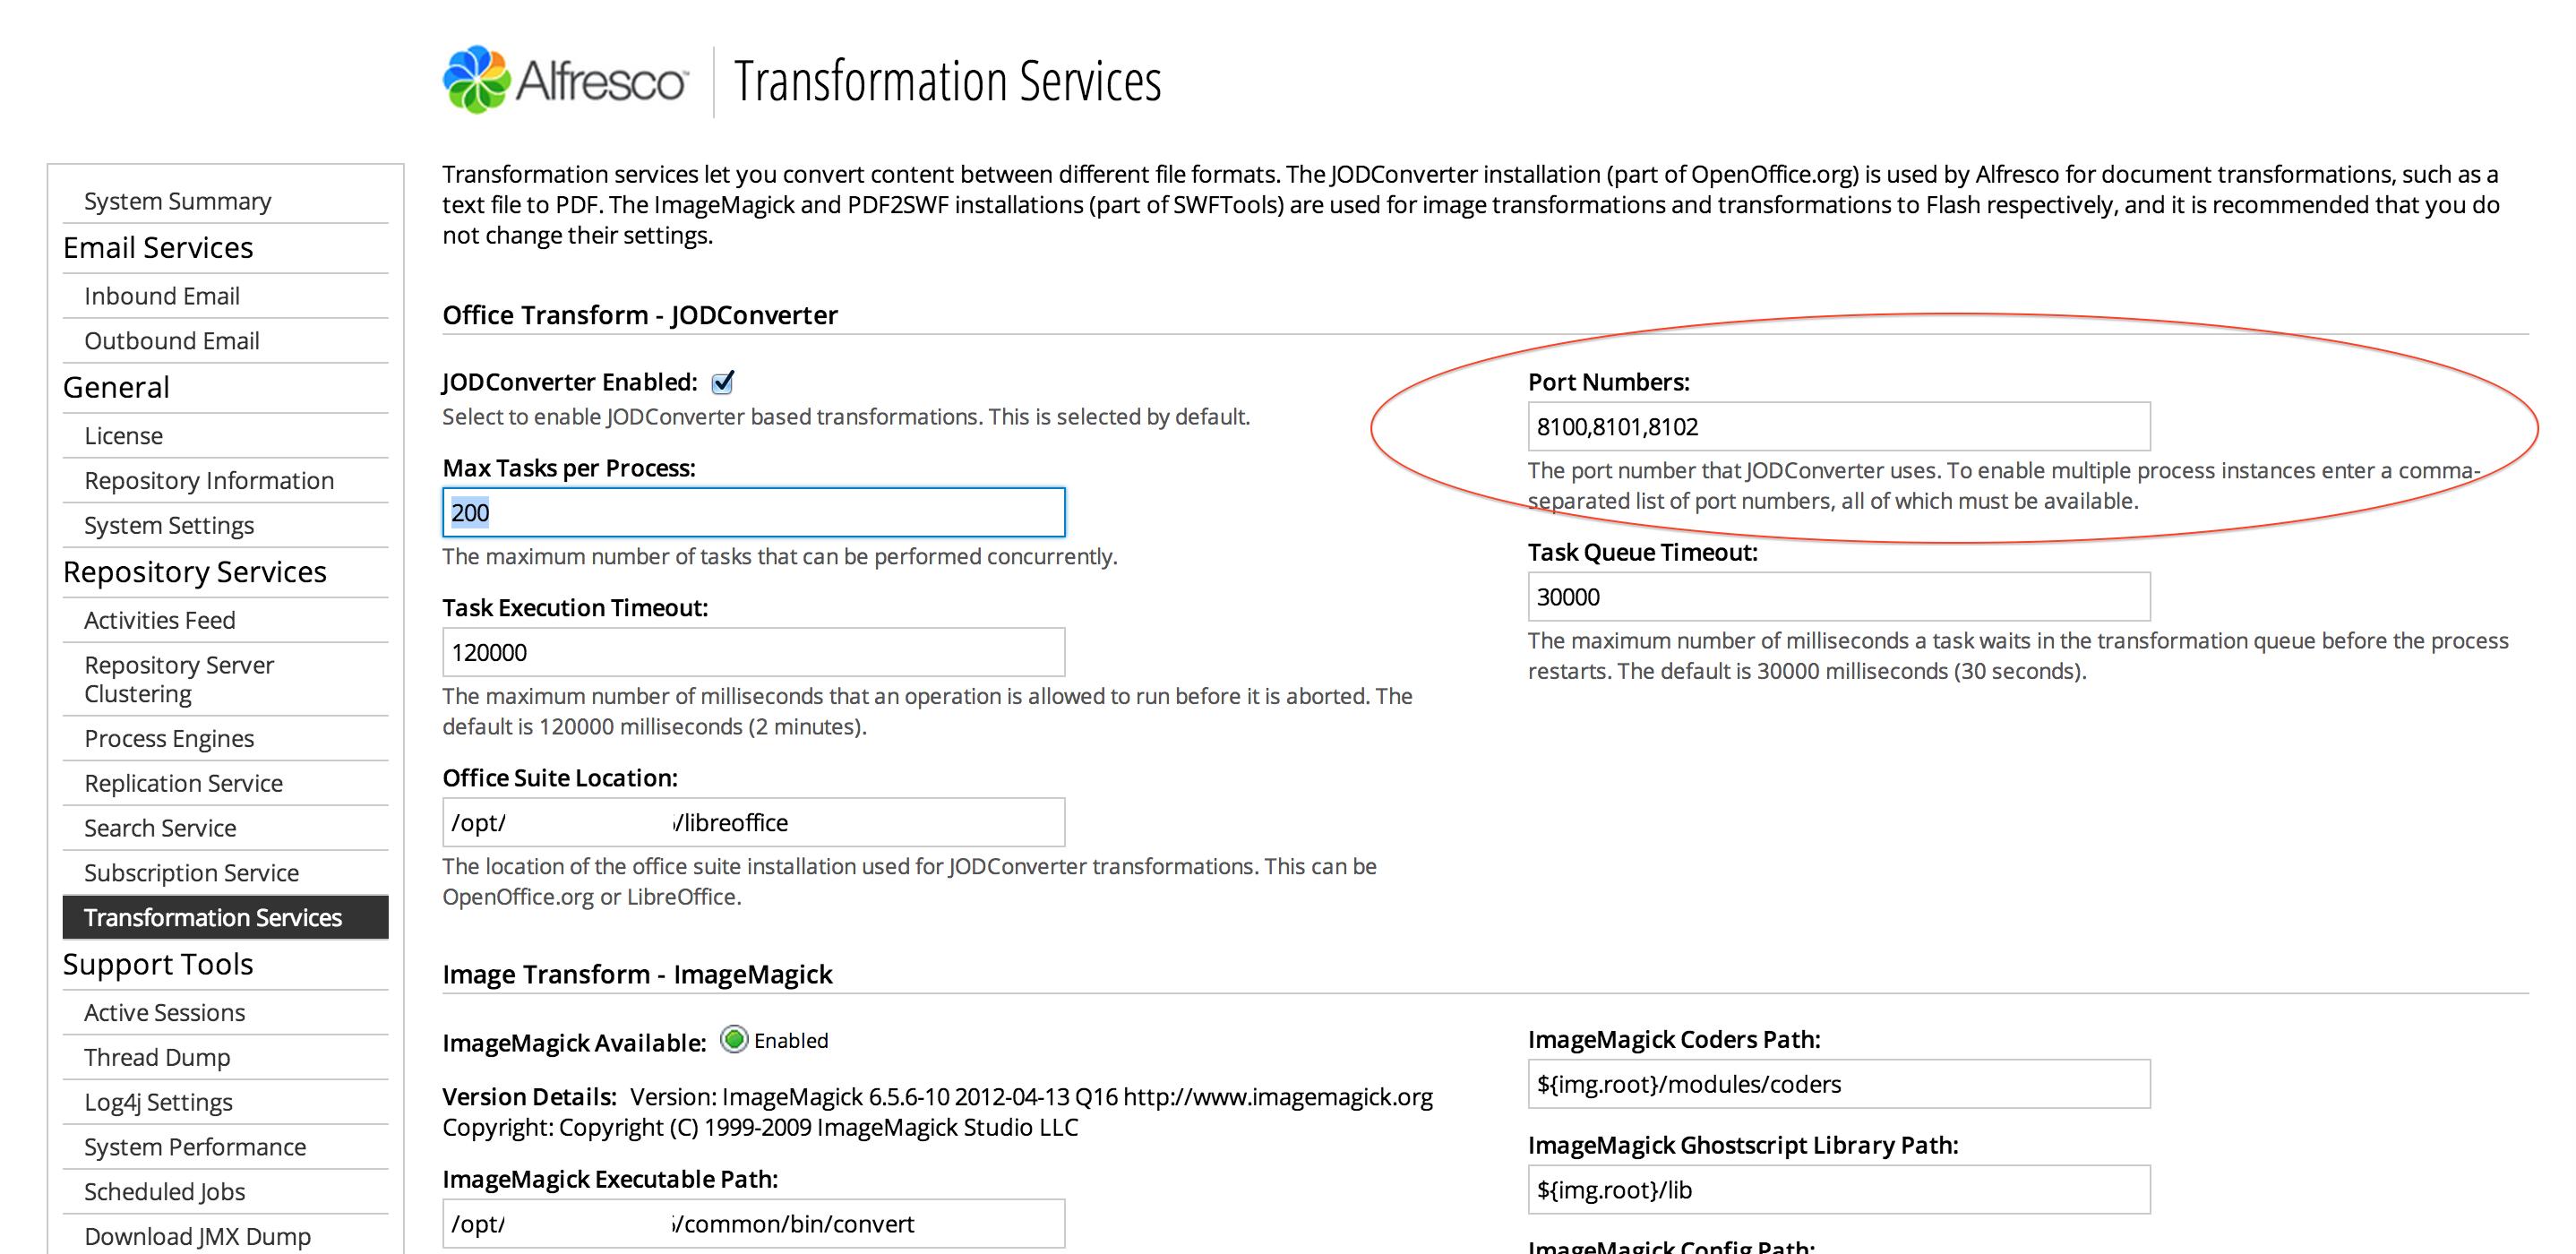
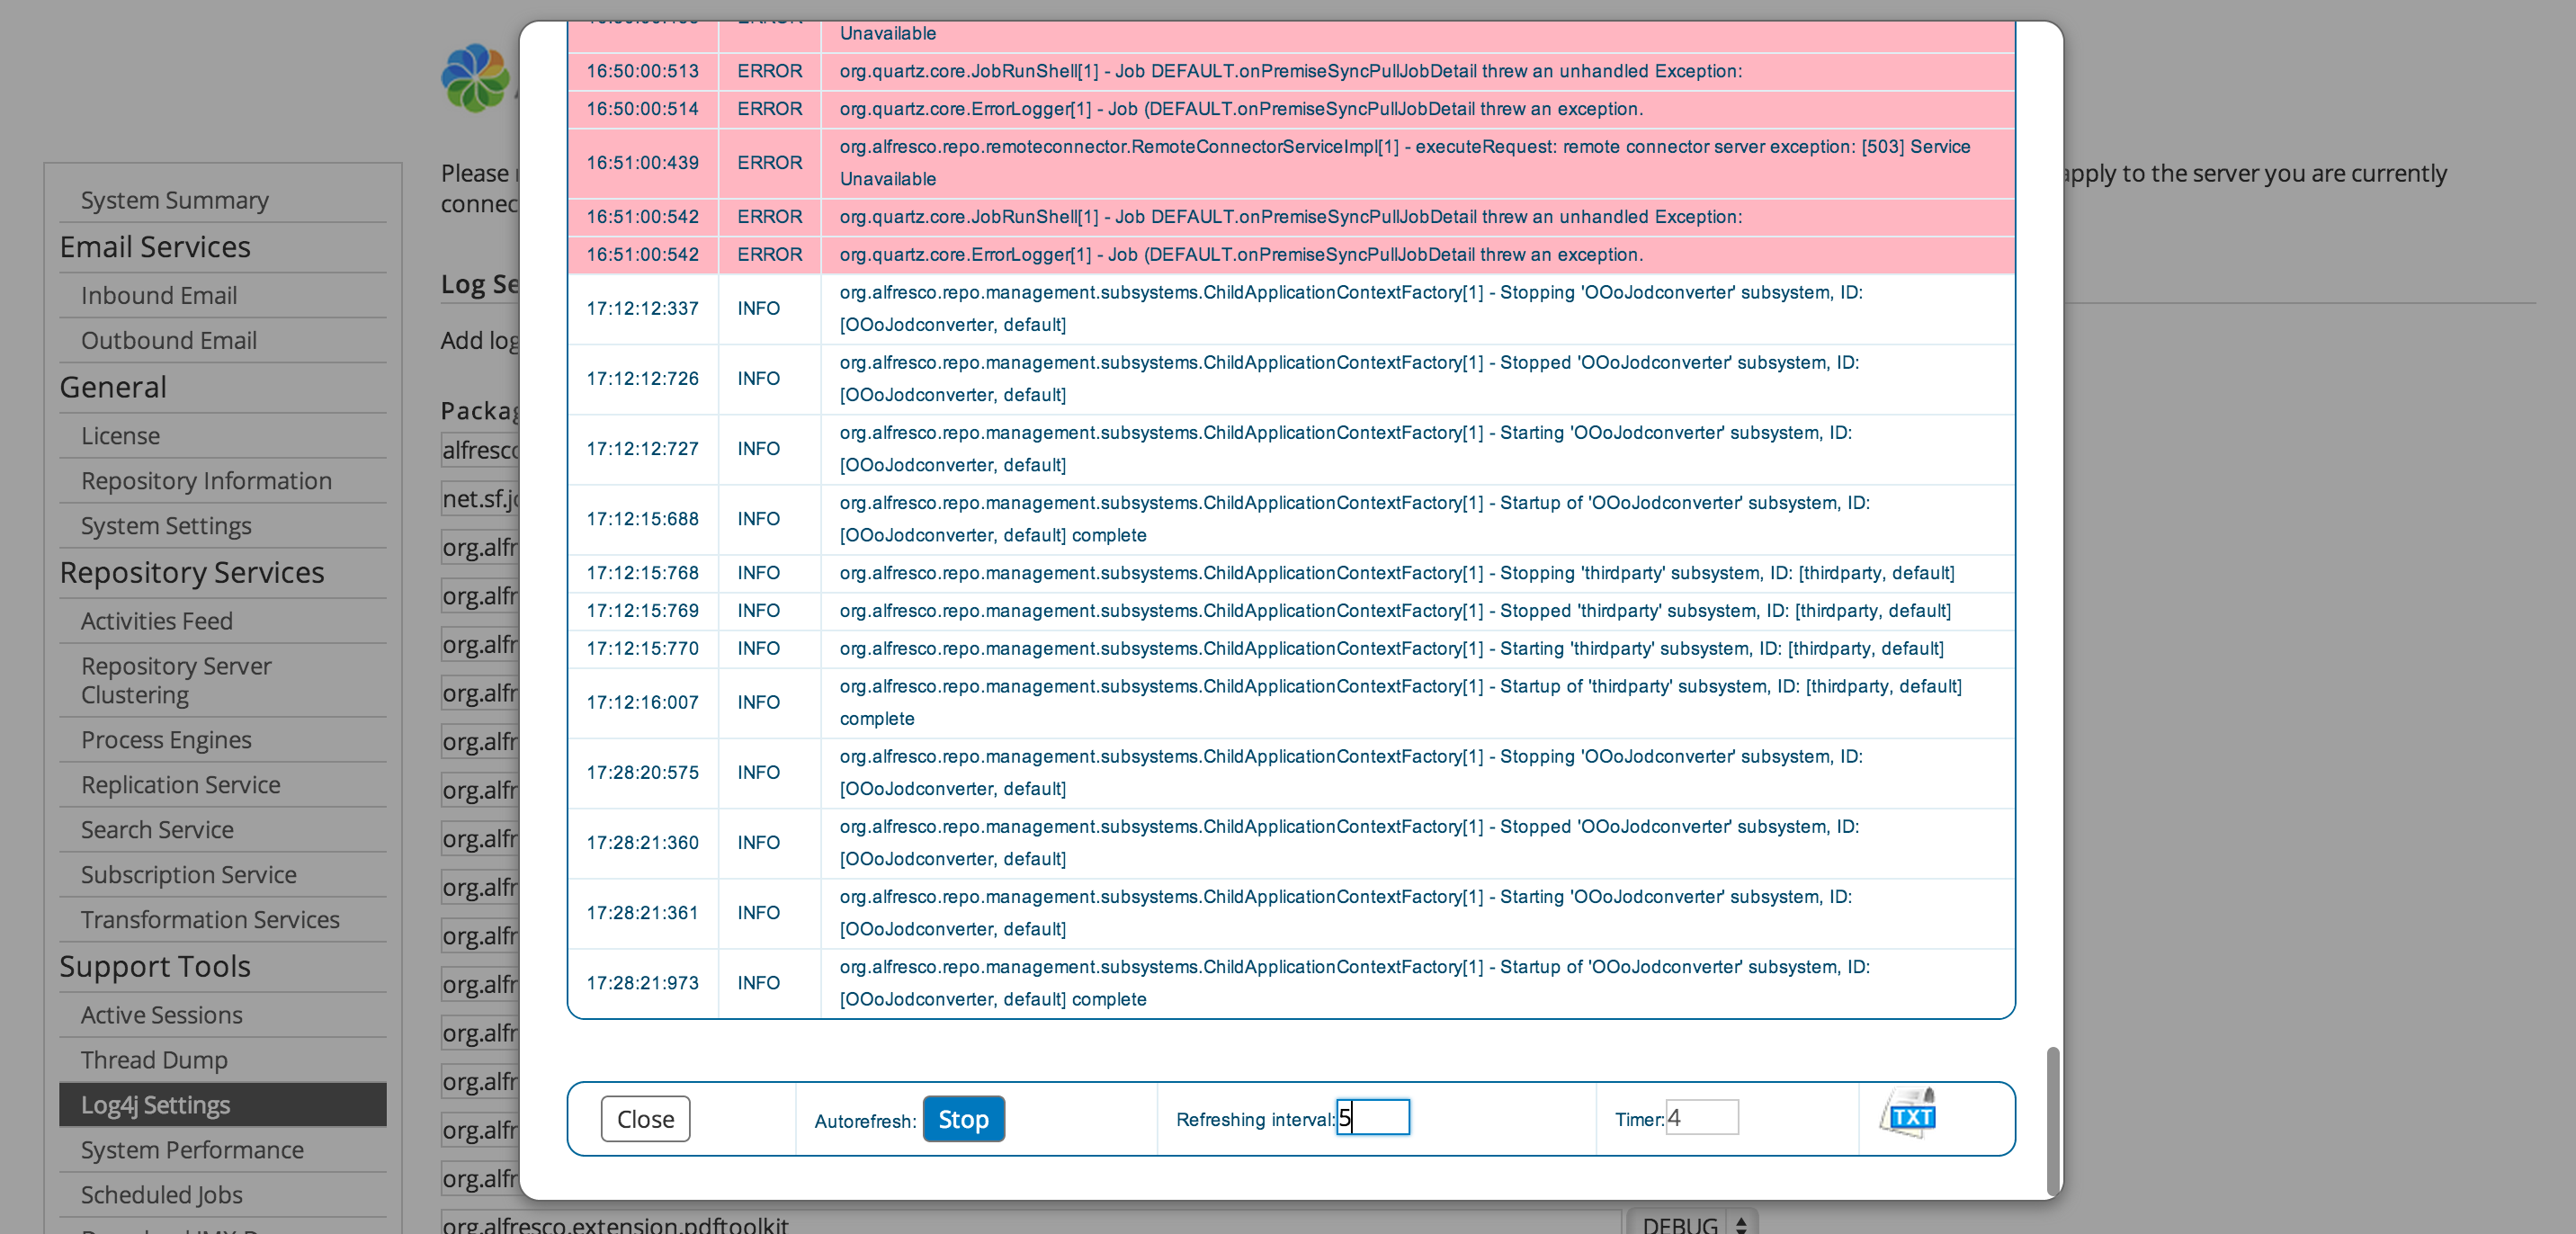
If you want to see and manage the logging with a web tool, see the Alfresco Support Tools in action (for Alfresco Enterprise only) here: https://addons.alfresco.com/addons/support-tools-admin-console. This is just an example about the logging section:

If you want to know more about the new Admin Panel visit this blog post: http://blogs.alfresco.com/wp/kevinr/2013/09/30/alfresco-repository-admin-console/
UPDATE! Feb 20th
As Cesar mentioned in the comments, the easiest way to have control about where your logs are located just add this line to your init.d script (take care about these variables):
[bash]
su -c $ALF_USER “cd $ALF_LOGS && $ALF_HOME/alfresco.sh start”
[/bash]
Or even if you are using the alfresco.sh script directly add next lines just before the “ERROR=0” line:
[bash]
LOGSDIR=/opt/alfresco/tomcat/logs
cd $LOGSDIR
[/bash]

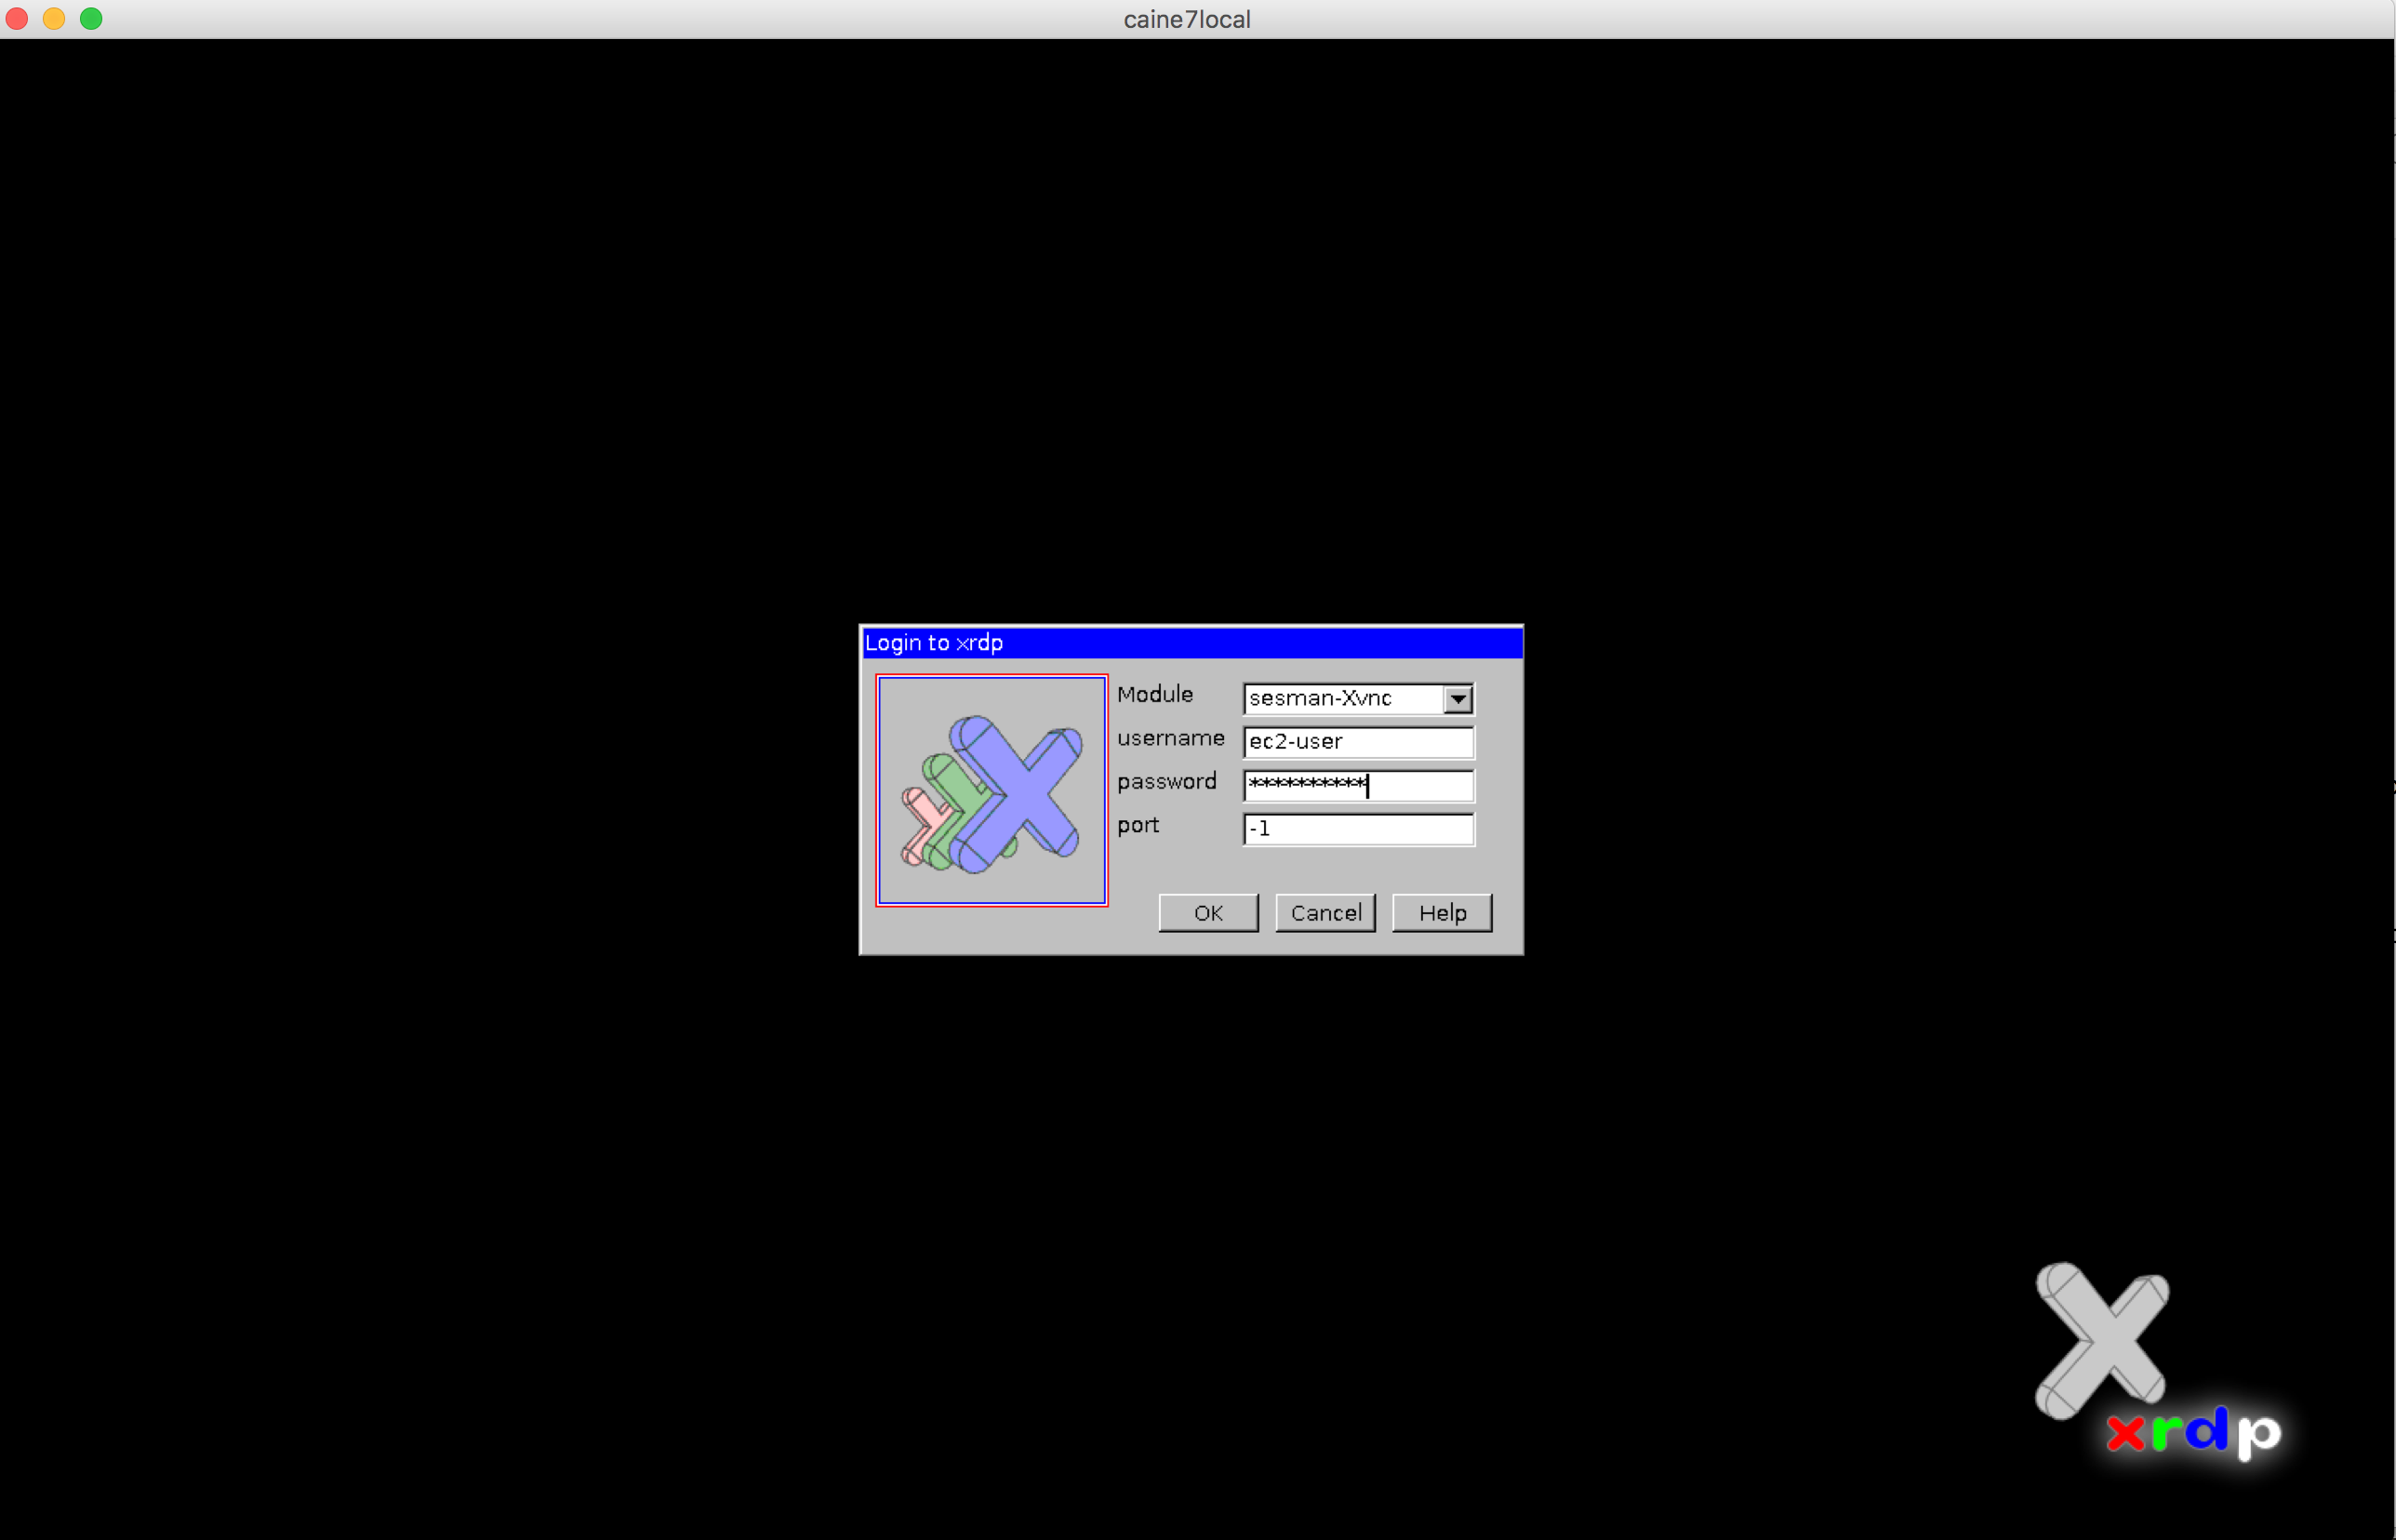
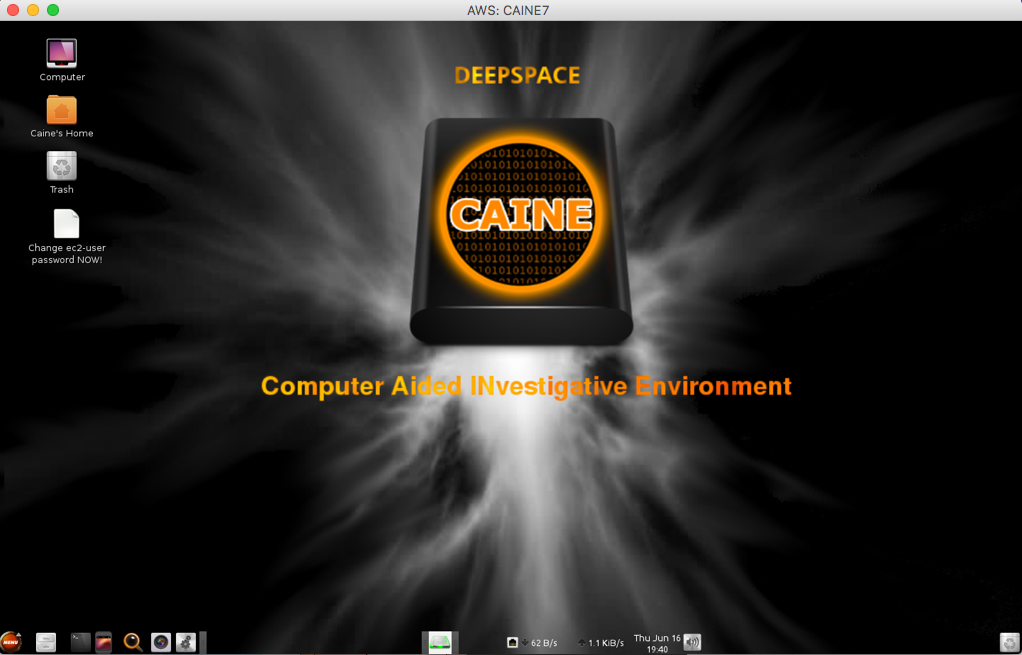
 If you work with AWS, you may have to perform a forensics analisys at some point. As discussed in