Spanish version here.
AWS is always monitoring unauthorized usage of their/our resources up in the cloud. If you have dozens of services running on AWS, at some point, you are likely to be warned about a security issue due to a variety of reasons like accidentally sharing a Key in Github, server misconfiguration making it easily exploitable, services with vulnerabilities, DoS or DDoS, 0days, etc… So be ready to perform a forensics and/or incident response to your AWS infrastructure.
Remember, in case of a security incident keep calm and follow a predefined procedure, don’t leave the process to a random behavior because probably your boss or you are nervous and unable to wait. It is always much better to have a proven guide to follow that just follow your intuition (you will use your intuition later).
WARNING: you may have come to this article in a desperate try looking for a solution in Google, in this case I recommend you to test all commands mentioned here before in your lab environment. You should have an incident response and forensics guide with some information like this before the incident actually happens.
In this article I want to write up some recommended steps and also tips and tricks we have “eventually” done. I assume you have AWS command line tools installed correctly otherwise look at here http://docs.aws.amazon.com/general/latest/gr/GetTheTools.html. All commands are based on Linux EC2 compromised server but most of the “aws” CLI commands can also be used for Windows servers (not tested though). If you are wondering if you may perform all actions mentioned below using AWS Console UI, yes, but I think using command line is faster and straightforward to follow in case of an incident:
1) Disable or delete the Access Key. If your AWS Access Key has been compromised (AWS will let you know in the communication or in case you noticed that thru a different manner, i.e.: looking at your code published in GitHub)
aws iam list-access-keys
aws iam update-access-key --access-key-id AKIAIOSFODNN7EXAMPLE \
--status Inactive --user-name Bob
aws iam delete-access-key --access-key AKIDPMS9RO4H3FEXAMPLE \
--user-name Bob
2) In case of compromised Key, check if new and unexpected resources have been spin up using the compromised key, in all regions. It is common to see that someone used your compromised Key to launch EC2 instances in any other AWS region, so check all of them looking for new and suspected instances. Here an example to look for new instances launched in us-east-1 since March 9th 2016:
aws ec2 describe-instances --region us-east-1 \
--query 'Reservations[].Instances[?LaunchTime>=`2016-03-9`][].{id: InstanceId, type: InstanceType, launched: LaunchTime}'
3) Contact AWS Support and let them know about the security incident, they are always willing to help and give advice. They also may scale to AWS Security Team if needed.
4) Isolate the forensic instance, in this case when I talk about YOUR.IP.ADDRESS.HERE, it could be your office public IP or an intermediate hosted server to hop off or to do the analysis:
- Create a security group to isolate your instance, note the difference between EC2-Classic and EC2-VPC, take note of Group-ID
aws ec2 create-security-group --group-name isolation-sg \
--description “Security group to isolate EC2-Classic instances”
aws ec2 create-security-group --group-name isolation-sg \
--description “Security group to isolate a EC2-VPC instance” \
--vpc-id vpc-1a2b3c4d \
# where vpc-1a2b3c4d is the VPC ID that the instance is member of
- Set a rule to allow SSH access from your public IP only, but first we have to know our public IP:
dig +short myip.opendns.com @resolver1.opendns.com
aws ec2 authorize-security-group-ingress --group-name isolation-sg \
--protocol tcp --port 22 --cidr YOUR.IP.ADDRESS.HERE/32
aws ec2 authorize-security-group-ingress --group-id sg-BLOCK-ID \
--protocol tcp --port 22 --cidr YOUR.IP.ADDRESS.HERE/32 \
# note the difference between both commands in group-name \
and group-id, sg-BLOCK-ID is the ID of your isolation-sg
- In EC2-Classic Security Groups don’t support outbound rules. However, for EC2-VPC Security Groups, outbound rules can be set with these commands:
aws ec2 revoke-security-group-egress --group-id sg-BLOCK-ID \
--protocol ‘-1’ --port all --cidr ‘0.0.0.0/0’ \
# removed rule that allows all outbound traffic
aws ec2 authorize-security-group-egress --group-id sg-BLOCK-ID \
--protocol ‘tcp’ --port 80 --cidr ‘0.0.0.0/0’ \
# place a port or IP if you want to enable some other \
outbound traffic otherwise do not execute this command.
- Apply that Security Group to the compromised instance:
aws ec2 modify-instance-attribute --instance-id i-INSTANCE-ID \
--groups sg-BLOCK-ID \
# where sg-BLOCK-ID is the ID of your isolation-sg
aws iam put-user-policy --user-name MyUser --policy-name MyPowerUserRole \
--policy-document file://C:\Temp\MyPolicyFile.json
5) Tag instance to mark it as under investigation:
aws ec2 create-tags --resources i-INSTANCE-ID \
--tags “Key=Environment, Value=Quarantine:REFERENCE-ID”
6) Save instance/s metadata:
- Information about the compromised instance:
aws ec2 describe-instances --instance-ids i-INSTANCE-ID > forensic-metadata.log
or
aws ec2 describe-instances --filters “Name=ip-address,Values=xx.xx.xx.xx”
- Console output, can be useful depending on the attack but you should have a centralized/dedicated log server outside each instance.
aws ec2 get-console-output --instance-id i-INSTANCE-ID
7) Create Snapshot of the volume/s on the compromised instance/s for forensics analysis:
aws ec2 create-snapshot –-volume-id vol-xxxx \
–-description “IR-ResponderName- Date-REFERENCE-ID”
That snapshot won’t be changed or mounted, we will work with a Volume.
8) Now we can follow 2 paths: Stop the instance.
aws ec2 stop-instances --instance-ids i-INSTANCE-ID
- or Leave it running, if we can, then isolate it from inside (iptables) and dump its RAM memory to a file using LiME.
9) Create a Volume from the taken snapshot to be used later for analysis:
- Consider using –region us-east-1 –availability-zone us-east-1a –volume-type standard with your own setup.
aws ec2 create-volume --snapshot-id snap-abcd1234
- Now take note of your new volume:
aws ec2 describe-volumes
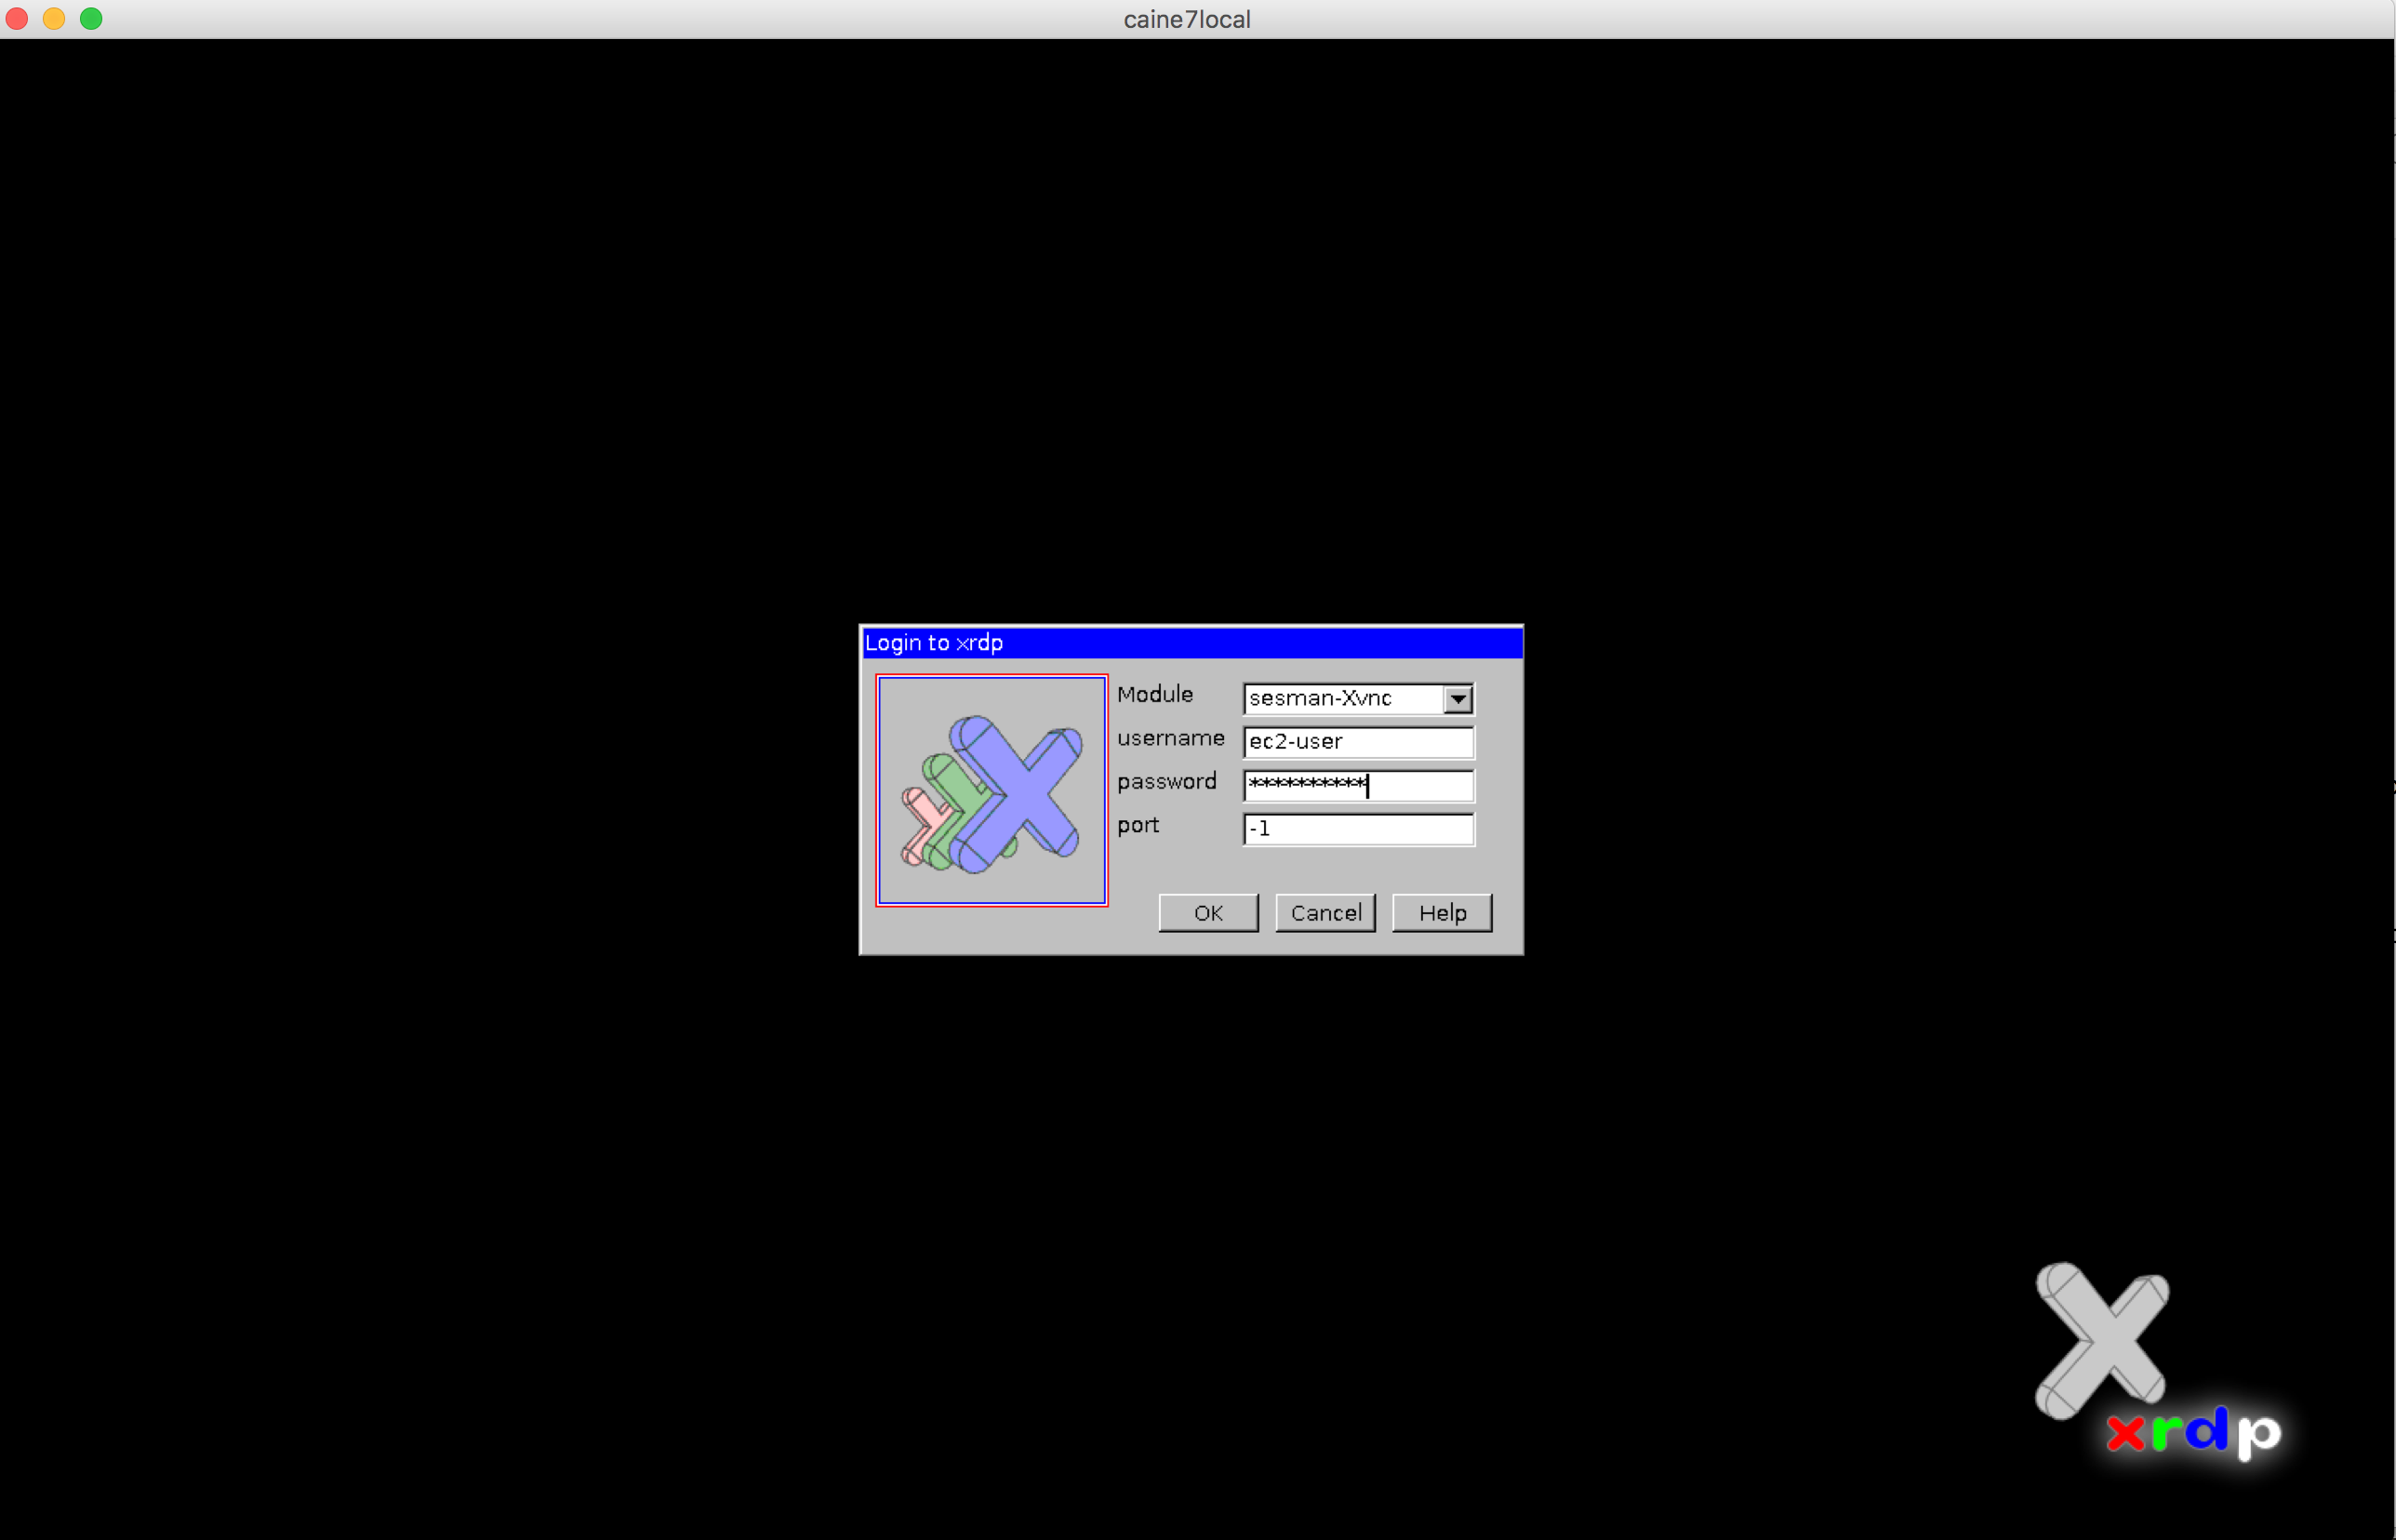
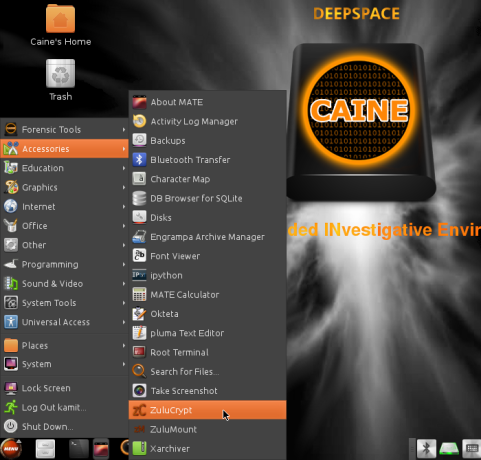
10) Mount that volume with your favorite forensics distribution and Run the investigation.
I will add more information in next blog post but I think this is a good introduction.
If you want to learn much more on this topic, I will be giving an online training about AWS, GCE and Azure Forensics in Spanish with Securizame, more info here.
Some cool references and good reads:
https://securosis.com/blog/my-500-cloud-security-screwup
https://securosis.com/blog/cloud-forensics-101
http://www.slideshare.net/AmazonWebServices/sec316-your-architecture-w-security-incident-response-simulations
http://sysforensics.org/2014/10/forensics-in-the-amazon-cloud-ec2/

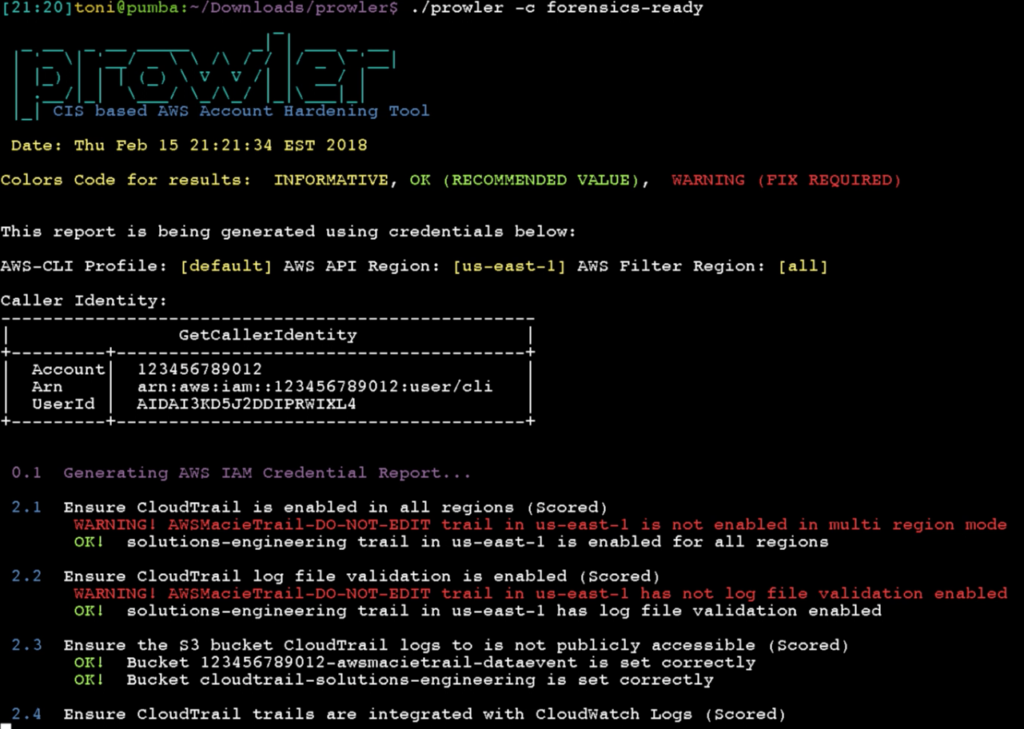
 If you work with AWS, you may have to perform a forensics analisys at some point. As discussed in