It looks like Prowler has become a popular tool for those concerned about AWS security. I just made Prowler to solve an internal requirement we have here in Alfresco. I decided to make it public and I started getting a lot of feedback, pull requests, comments, advices, bugs reported, new ideas and I keep pushing to make it better and more comprehensive following all what cloud security community seems to need.
I know Prowler is not the best tool out there but it does what I wanted it to do: “Take a picture of my AWS account (or accounts) security settings and tell me from where to start working to improve it”. Do the basics, at least. And that’s what it does. I would use other tools to track service change, etc., I discuss that also in my talks.
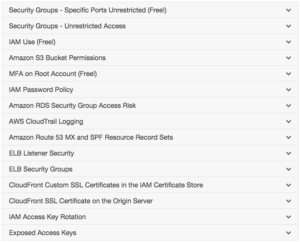
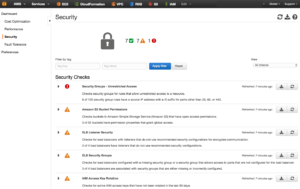
Currently, Prowler performs 74 checks (for an entire list run `prowler -l`), being 52 of them part of the CIS benchmark.
Digital Forensics readiness capabilities into Prowler 1.6
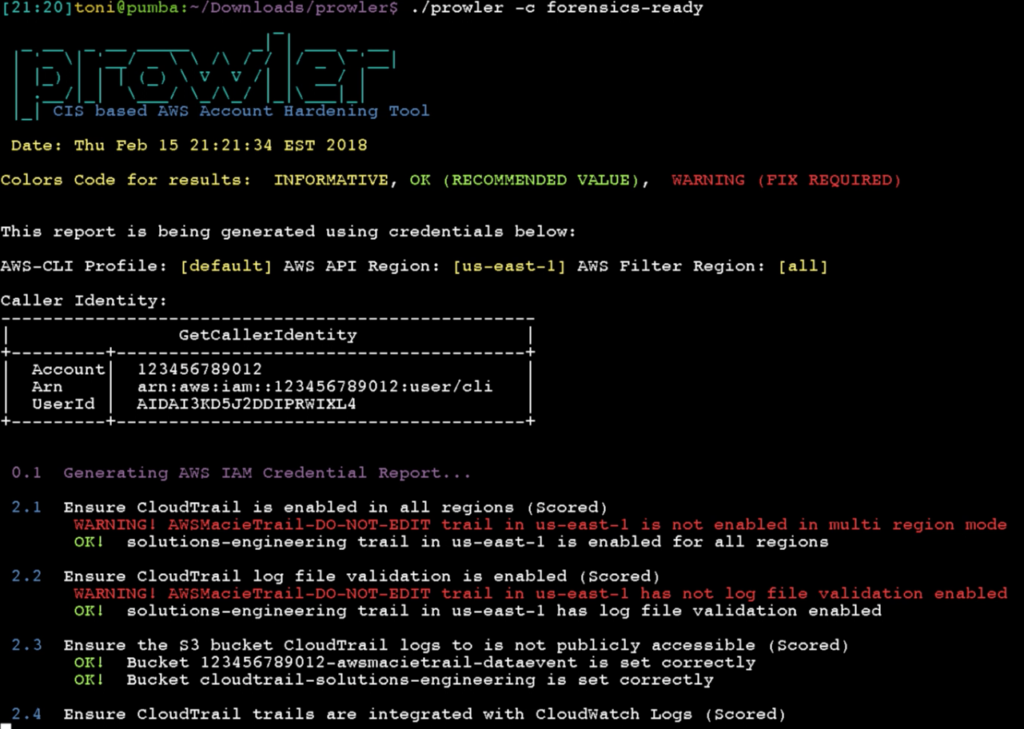
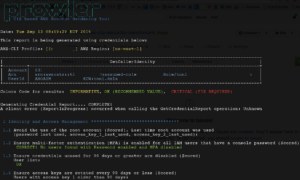
`prowler -c forensics-ready`
I’m into DFIR, I love it and I read lot about cloud digital forensics and incident response, I enjoy investing my time R&D about that subject. And I’m concerned about random or targeted attacks to cloud infrastructure. For the talk I’m doing today at the SANS Cloud Security Summit 2018 in San Diego, I wanted to show something new and I thought about adding new checks to Prowler related to forensics and how to make sure you have all (or as much) what you need to perform a proper investigation in case of incident, logs that are not enabled by default in any AWS account by the way. Some of those checks are included and well described in the current CIS benchmark for AWS, or even in the CIS benchmark for AWS three tiers web deployments (another hardening guide that is way less popular but pretty interesting too), but there are checks that are not included anywhere. For example, I believe it is good idea to keep record of your API Gateway logs in your production accounts or even your ELB logs, among many others. So when you run `prowler -c forensics-ready` now you will get the status of your resources across all regions, and you can make sure you are logging all what you may eventually need in case of security incident. Currently these are the checks supported (https://github.com/toniblyx/prowler#forensics-ready-checks):
- 2.1 Ensure CloudTrail is enabled in all regions (Scored)
- 2.2 Ensure CloudTrail log file validation is enabled (Scored)
- 2.3 Ensure the S3 bucket CloudTrail logs to is not publicly accessible (Scored)
- 2.4 Ensure CloudTrail trails are integrated with CloudWatch Logs (Scored)
- 2.5 Ensure AWS Config is enabled in all regions (Scored)
- 2.6 Ensure S3 bucket access logging is enabled on the CloudTrail S3 bucket (Scored)
- 2.7 Ensure CloudTrail logs are encrypted at rest using KMS CMKs (Scored)
- 4.3 Ensure VPC Flow Logging is Enabled in all VPCs (Scored)
- 7.12 Check if Amazon Macie is enabled (Not Scored) (Not part of CIS benchmark)
- 7.13 Check if GuardDuty is enabled (Not Scored) (Not part of CIS benchmark)
- 7.14 Check if CloudFront distributions have logging enabled (Not Scored) (Not part of CIS benchmark)
- 7.15 Check if Elasticsearch Service domains have logging enabled (Not Scored) (Not part of CIS benchmark)
- 7.17 Check if Elastic Load Balancers have logging enabled (Not Scored) (Not part of CIS benchmark)
- 7.18 Check if S3 buckets have server access logging enabled (Not Scored) (Not part of CIS benchmark)
- 7.19 Check if Route53 hosted zones are logging queries to CloudWatch Logs (Not Scored) (Not part of CIS benchmark)
- 7.20 Check if Lambda functions are being recorded by CloudTrail (Not Scored) (Not part of CIS benchmark)
- 7.21 Check if Redshift cluster has audit logging enabled (Not Scored) (Not part of CIS benchmark)
- 7.22 Check if API Gateway has logging enabled (Not Scored) (Not part of CIS benchmark)
I haven’t added yet a RDS logging check and I’m probably missing many others so please feel free to open an issue in Github and let me know!
If you want to check out my slide deck used during my talk at the SANS Cloud Security Summit 2018 in San Diego, look at here: https://github.com/toniblyx/SANSCloudSecuritySummit2018
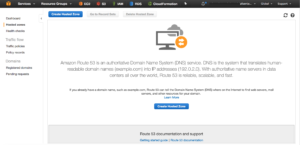
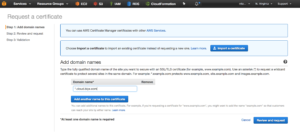
 3. Once we have all DNS steps done, let’s create our wild card certificate with AWS Certificate Manager for
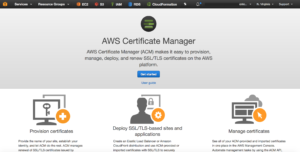


 SCAP (Security Content Automation Protocol)
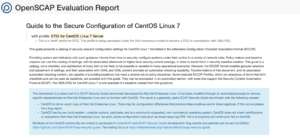

 If you work with AWS, you may have to perform a forensics analisys at some point. As discussed in